Your First Workforce in 5 Minutes
A step-by-step guide to building and deploying your first AI workforce using the visual builder.
Step-by-Step Walkthrough
Open the Workforce Builder
Navigate to /workforce-builder or click "Build Your Workforce" from the workforce landing page.
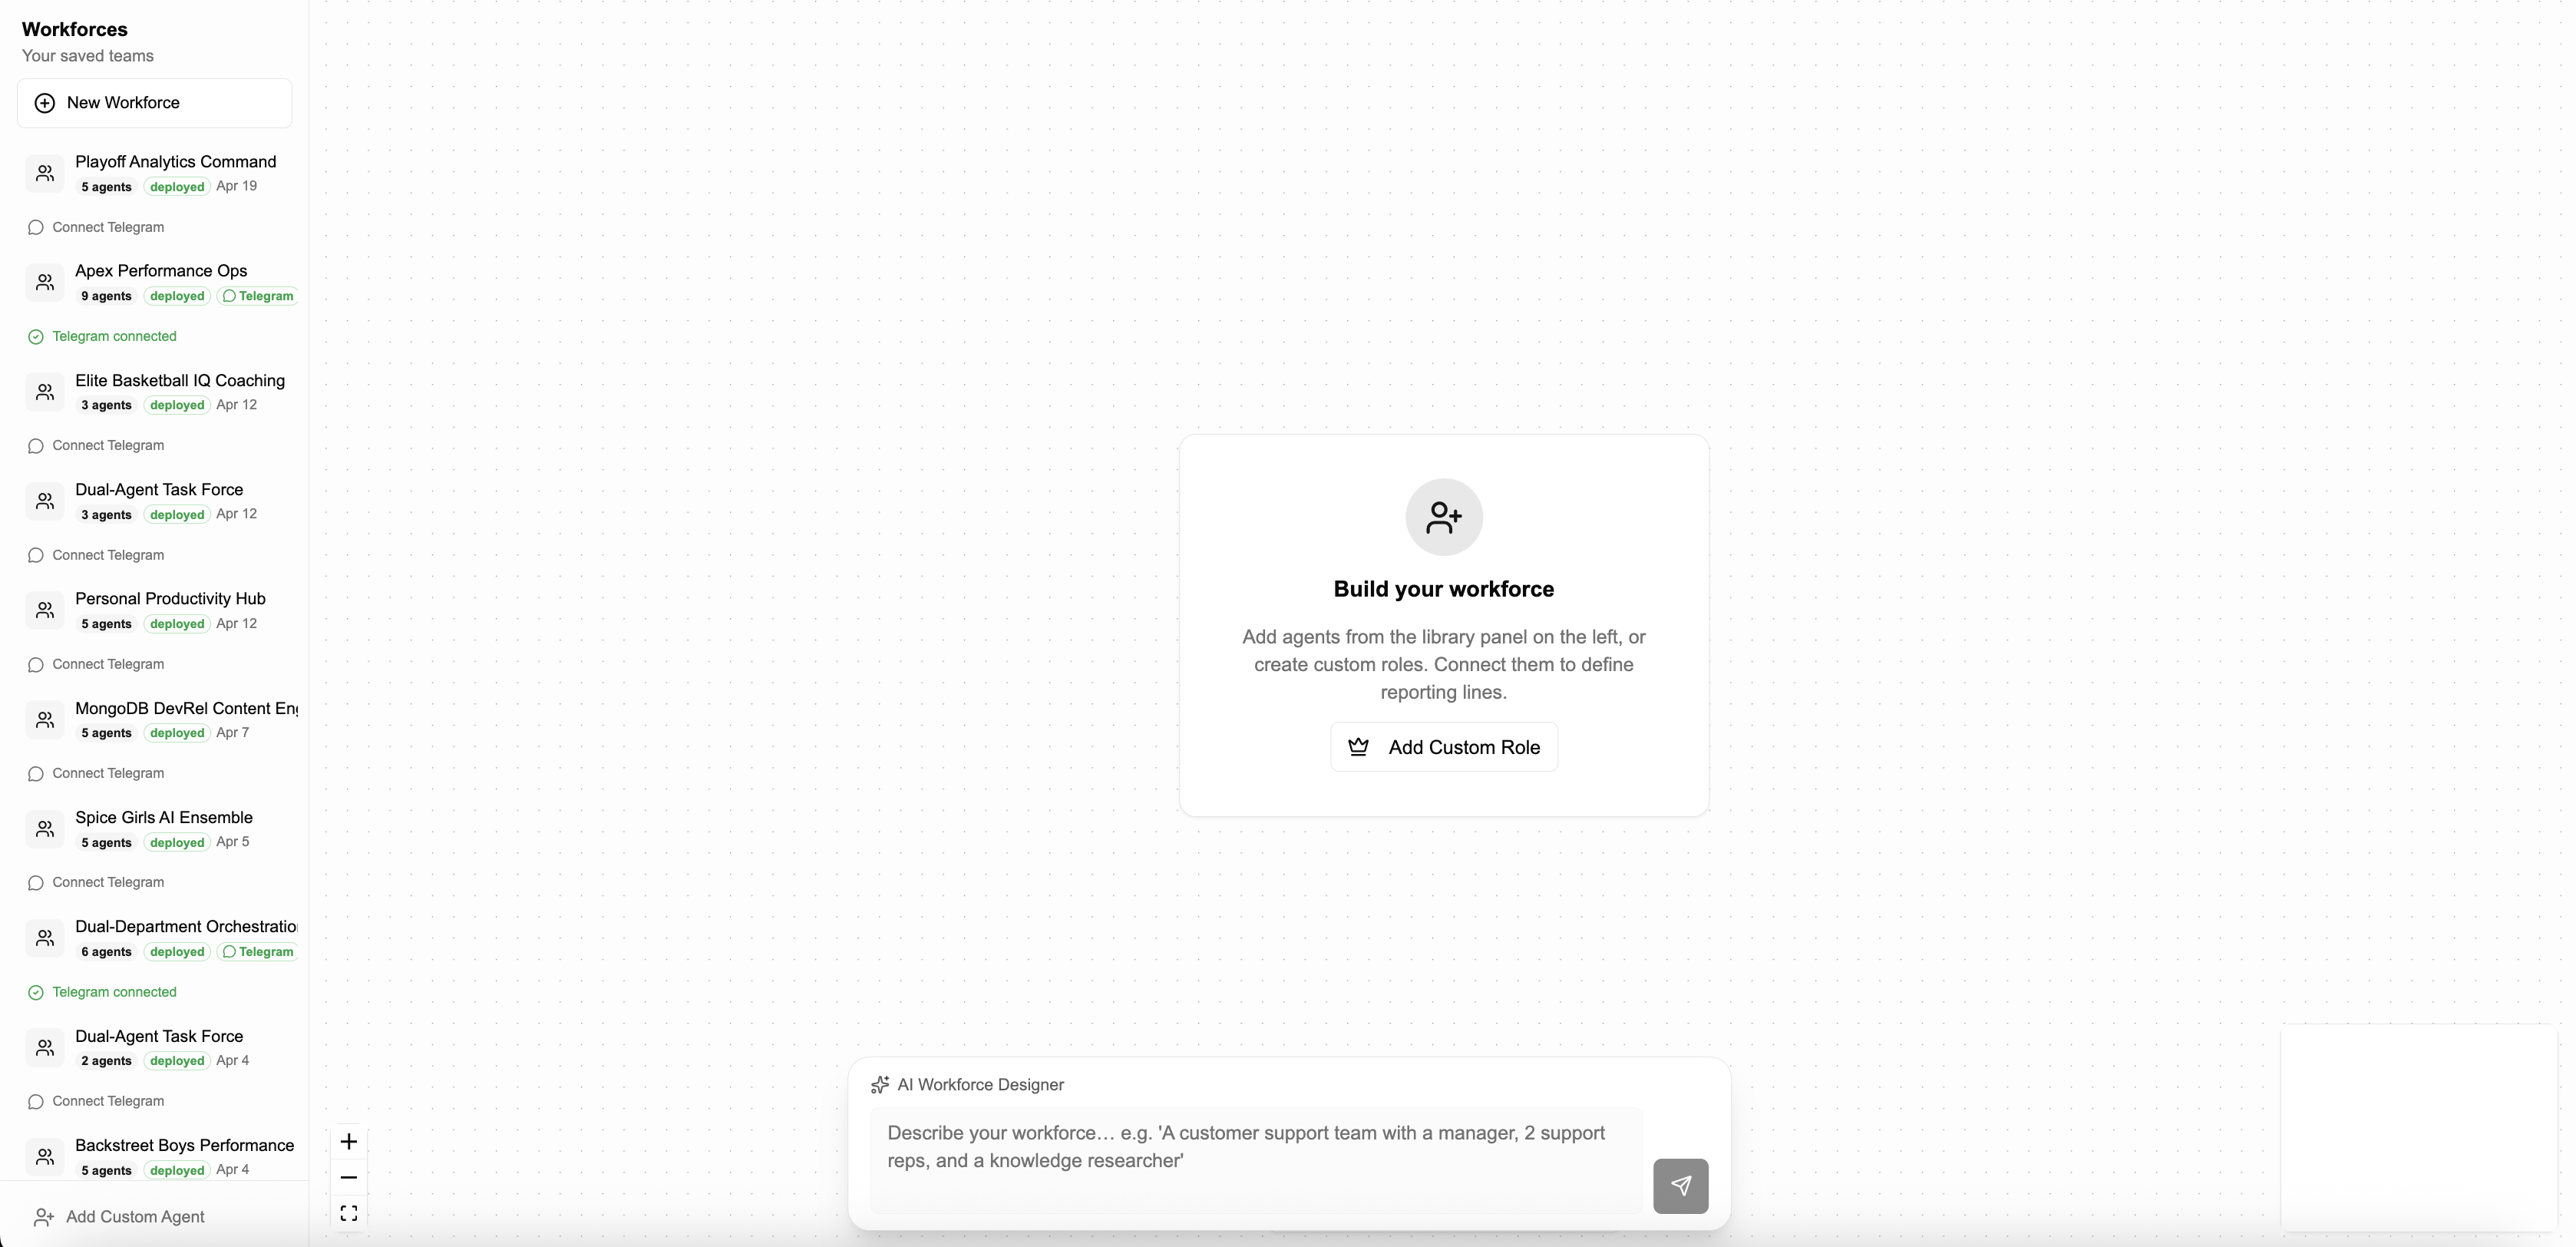
Describe your team in plain English
Use the AI bar at the bottom of the canvas to describe your ideal team structure. Be specific about roles and responsibilities.
Example prompts:
- "Build a sales team: a manager, two SDRs, and a research analyst"
- "Create a content team with an editor, two writers, and a social media manager"
- "A customer support team with a manager, 3 support reps, and a knowledge researcher"
Answer clarification questions
The AI wizard asks 3-5 targeted questions to understand your team's goals, preferred tools, and approval workflows. Each question has suggested answers plus a free-text option.
Team Goals
What outcomes should this team achieve?
Tools & Integrations
Which platforms should agents connect to?
Approval Style
Should actions require human approval?
Communication
How should agents communicate with users?
Review the generated org chart
A visual canvas displays your workforce as an org chart. Members appear as nodes connected by reporting lines (smoothstep edges). Drag nodes to rearrange the layout.
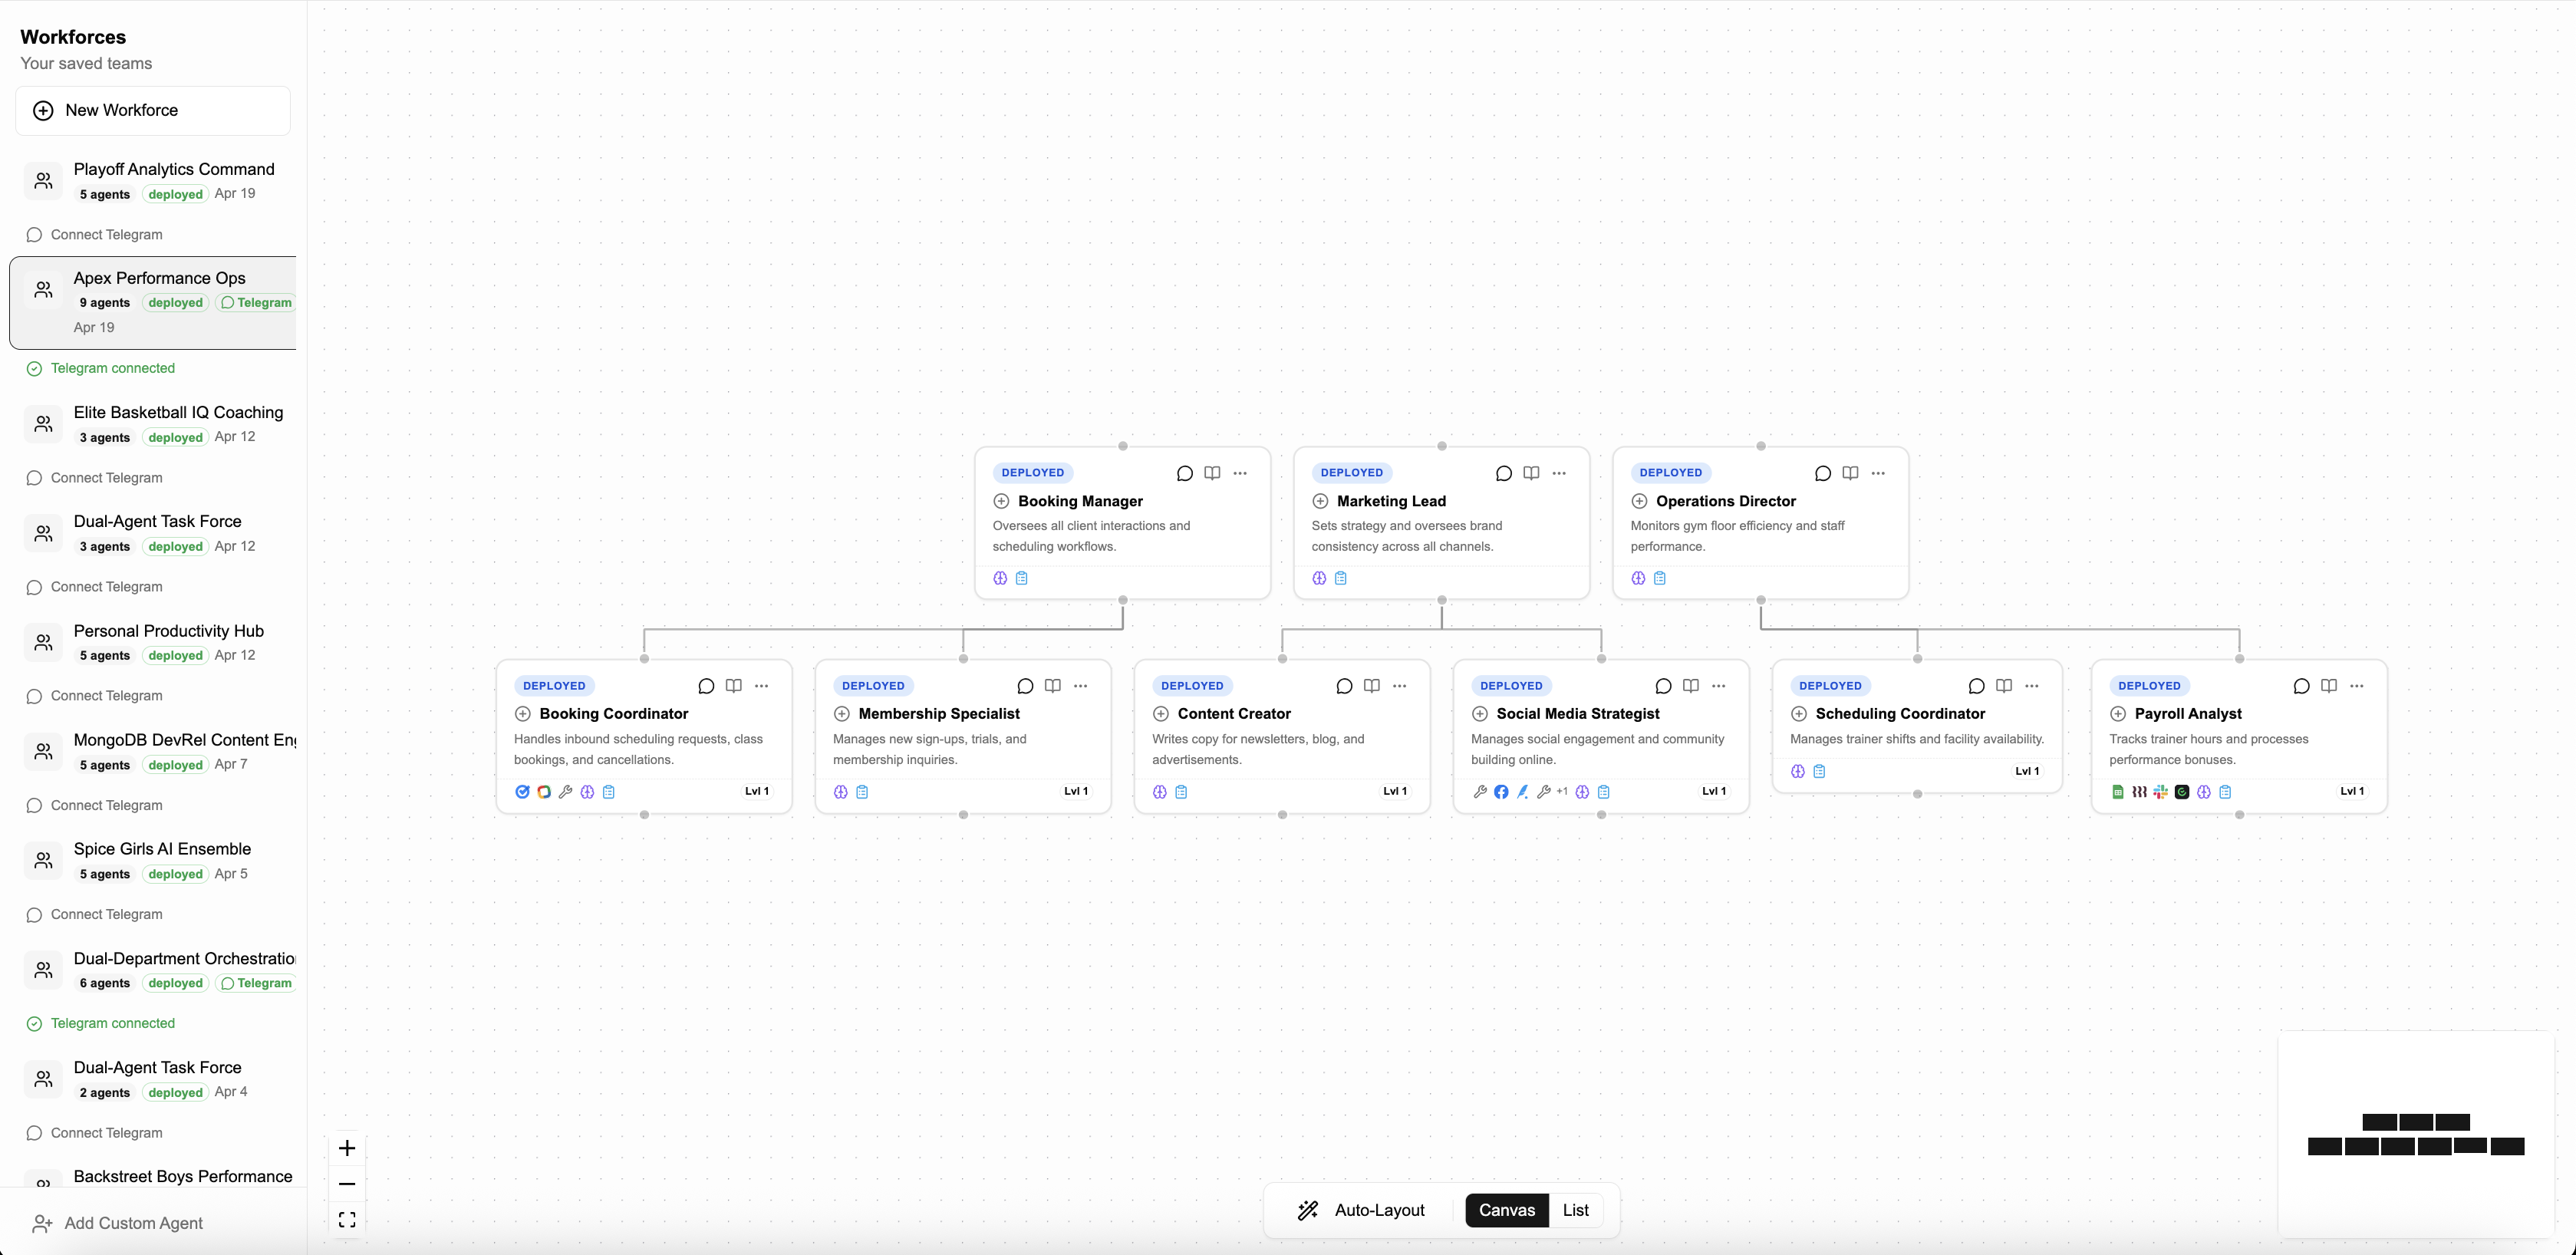
Customize members (Manual Editing)
After AI generates the initial structure, all editing is done manually. Click any member node to open the configuration panel:
- Name & Role - Display name and role title
- System Prompt - The agent's instructions and personality
- Tools - Composio integrations and agent-as-tool connections
- Knowledge Base - Upload PDFs or add URLs for reference
- Approval Policy - Auto, require approval, or custom rules per tool
You can also manually add new members, drag nodes to rearrange the layout, and create new reporting lines by dragging between connection handles.
Deploy
Click Generate & Deploy to build your workforce. Agent5ive creates each agent, wires reporting lines, and returns deployment IDs for every member.
During deployment:
- Each member is created as a deployable agent
- Reporting lines are configured as agent-as-tool connections
- Shared memory scope is initialized for the workforce
- Deployment IDs are generated for web chat access
Set up Telegram workspace
The Telegram Wizard guides you through connecting your workforce to a Telegram group:
Create bots via @BotFather
Create one Telegram bot for each workforce member. Copy the API token for each.
Enter bot tokens
Paste each token into the wizard. We validate them via the Telegram API.
Create a Telegram group
Create a new group and add all your workforce bots as members.
Make bots admins
Promote each bot to admin so they can read and respond to messages.
Activate webhooks
The wizard verifies the group and activates webhooks for all members.
Expected Result
You now have a Telegram group where you can @mention any agent. Your top-level managers can delegate to specialists via @mentions, and all agents share the same memory context for seamless collaboration.