Voice Feature Guide
Learn how to use and configure voice capabilities for your Agent5ive agents.
Overview
The Realtime Voice feature allows your agents to listen and respond using natural speech, creating a more intuitive and accessible interaction experience. Agent5ive now offers two voice options: Default Voice (Gemini) with built-in support and no API key required, and OpenAI Voice (BYOK) for users who prefer to bring their own OpenAI API key.
What is Realtime Voice?
Realtime Voice allows your agent to have spoken conversations with users using either Google's Gemini 2.5 Live model (built-in) or OpenAI's GPT-realtime model (BYOK). Instead of typing messages back and forth, users can:
- Speak to the agent - Users can talk naturally using their microphone
- Hear the agent's responses - The agent responds with a human-like voice
- See text transcripts - All spoken words are also shown as text
- Use standard tools in voice - All standard tools (Web Search, Maps, News, etc.) now work in voice conversations
- Use MCP tools in voice - MCP tools can be accessed during voice conversations
- Communicate with other agents - Voice agents can call other agents as tools
This creates a more natural and accessible way to interact with your agent, similar to talking with a virtual assistant like Siri or Alexa, but with all the specialized knowledge and capabilities of your custom agent.
Voice Options
Agent5ive offers two voice options to suit different needs and preferences:
Default Voice (Gemini)
- No API key required - Built-in and ready to use
- Powered by Gemini 2.5 Live - Google's advanced voice model
- Multiple voice options - Choose from various voice personalities
- Automatic voice activity detection - Natural conversation flow
- Real-time transcription included - See what you're saying as you speak
- Pricing: 3 text messages per voice message
OpenAI Voice (BYOK)
- Bring Your Own Key - Use your OpenAI API key
- Powered by GPT-realtime - OpenAI's voice model
- Multiple voice options - Choose from OpenAI's voice library
- External billing - Billed directly by OpenAI
- Does not count toward Agent5ive message limits
- Requires OpenAI account with credits
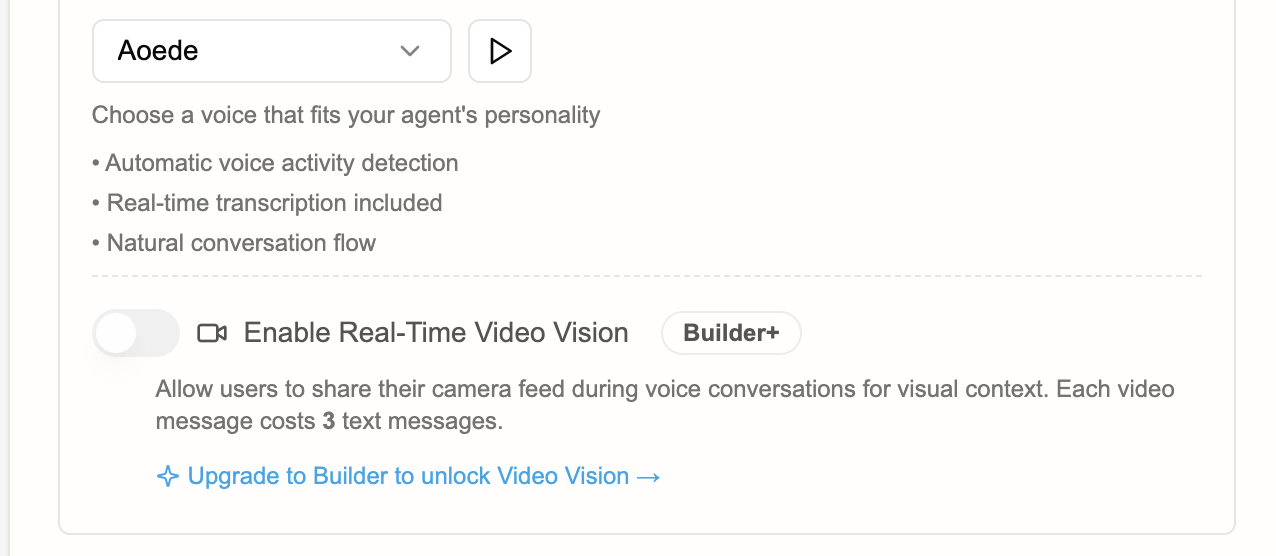
Real-Time Video Vision
Builder+ accounts can now enable Real-Time Video Vision for agents using Gemini built-in models, allowing users to share their camera feed during voice conversations for enhanced visual context. The agent can see and respond to what the user is showing through their camera in real-time.
Key Features
- Live camera feed analysis - Agent can see what users are showing in real-time
- Visual context understanding - Describe objects, read text, analyze scenes
- Seamless integration - Works alongside voice conversations automatically
- User-controlled - Users can enable/disable camera feed at any time
- Multiple use cases - Support, education, troubleshooting, accessibility, and more
Pricing & Requirements
- Model requirement: Only works with Gemini built-in models
- Available on: Builder, Pro, and Business plans
- Cost: Each video message costs 10 deployed messages
- Requires: Voice chat must be enabled on the agent
- Browser support: Modern browsers with camera access permissions
- Note: Free (Explorer) plan does not have access to Video Vision
Common Use Cases
Technical Support
Users can show error messages, hardware issues, or product problems directly to the agent for real-time troubleshooting and guidance.
Education & Training
Students can demonstrate their work, show physical experiments, or get feedback on practical tasks with immediate visual assessment.
Product Assistance
Customers can show products, packaging, or assembly steps to receive personalized guidance and support based on what they're showing.
Accessibility Services
Users with visual impairments can point their camera at text, signs, or objects to have the agent read and describe their surroundings.
How to Enable Video Vision
- Configure your agent to use a Gemini built-in model (required for video vision)
- Enable Real-time Voice Chat for your agent
- Scroll to the "Enable Real-Time Video Vision" toggle in the voice configuration section
- Toggle the switch to enable video vision capabilities
- Save and deploy your agent
- Users will see a camera button in the voice interface to share their video feed
Tool Approval in Voice Conversations
Voice conversations support the same Tool Approval Policy System as other deployment types. This means you can control how MCP tools and agent-to-agent communication require user approval during voice interactions.
Configurable Approval Options:
- Auto-approve all tools - MCP tools and agent tools execute automatically without user confirmation during voice conversations
- Require approval for all tools - Users must verbally or manually confirm each tool usage before execution
- Custom rules per tool - Configure specific approval requirements for individual MCP tools or agent tools (e.g., auto-approve read-only tools, require approval for actions that modify data)
Tool approval policies help you balance convenience with control in voice interactions. For example, you might auto-approve informational tools (like searching a knowledge base) while requiring approval for actions that create or modify data (like creating tasks or sending emails).
Getting an OpenAI API Key (BYOK Only)
To use the OpenAI Voice (BYOK) feature, you'll need an OpenAI API key. An API key is like a special password that allows your agent to use OpenAI's voice technology. You'll also need to have credits (or a payment method) in your OpenAI account to pay for the voice service. If you're using the Default Voice (Gemini), you can skip this section.
Create an OpenAI account
If you don't already have one, sign up for an account at https://platform.openai.com/signup
Navigate to API keys
Once logged in, go to the API section and select 'API keys' from the left sidebar.
Create a new API key
Click on the 'Create new secret key' button, provide a name for your key (e.g., 'Agent5ive Voice'), and create the key.
Copy your API key
Copy the generated API key immediately and store it securely. Note that OpenAI will only show this key once.
Important Security Notes
- Never share your API key publicly or commit it to version control systems
- Agent5ive securely encrypts your API key in our database
- Your key is only used for processing voice interactions for your agents
- You can revoke access at any time by deleting the key from your OpenAI dashboard
Adding Credits to Your OpenAI Account (BYOK Only)
To use the OpenAI Voice (BYOK) features, you'll need to ensure your OpenAI account has sufficient credits. New accounts typically receive some free credits, but you'll likely need to add a payment method for continued use. This is not required for the Default Voice (Gemini) option.
Access your OpenAI account settings
Log in to your OpenAI account and navigate to the 'Billing' section.
Add a payment method
Add a valid credit card or other supported payment method to your account.
Set usage limits (recommended)
Configure usage limits to prevent unexpected charges. You can set monthly spending caps in the 'Usage limits' section.
Add credits (prepaid)
If available for your account type, you can prepay for credits to better manage your spending.
OpenAI Voice (BYOK): Using OpenAI voice features will cost money through your OpenAI account. The cost is based on how much time your users spend talking with your agent. New OpenAI accounts usually get some free credits to start with. Check the OpenAI pricing page for current rates. You can set spending limits in your OpenAI account to control costs. OpenAI voice usage does not count toward your Agent5ive message limits.